
You guys, I am writing this post from our brand-new, built-with-our-own-four-hands computer desk! Well, actually mostly built just with Adam's two hands. We bought the supplies for a modified version of this plan from Ana White at the beginning of April. And, this past weekend, we finally got it done!
You see, when you live in an apartment and your only workspace is the balcony, things take a while. The guy at Home Depot cut the wood small enough to fit in the trunk of our car, but Adam still had to cut every piece to size with a hand saw. As you can imagine, that was by far the hardest part! Then, I sanded each piece while he drilled pocket holes and screwed it all together. To finish it off, I applied a coat of wood conditioner, two coats of dark walnut stain, and three coats of polyurethane. Don't worry, I wore a special pregnancy-approved ventilation mask to protect Maggie from all those harmful chemicals.

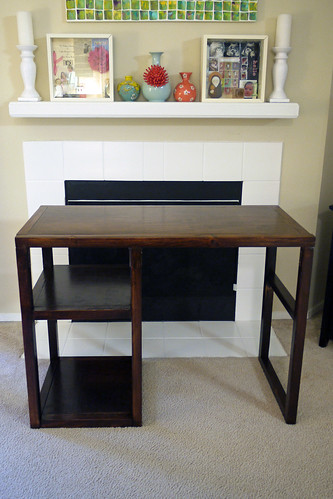
We waited three days for the polyurethane to dry and off-gas. When we finally brought the desk inside, it looked liked this:
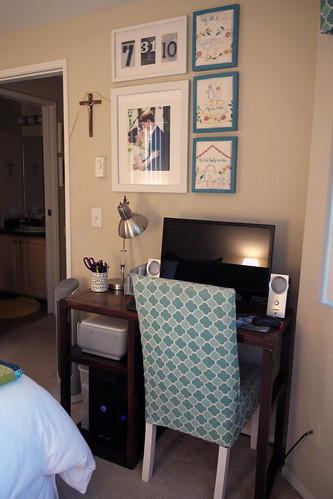
But when we moved it into our bedroom and set up the computer, it looked like this:
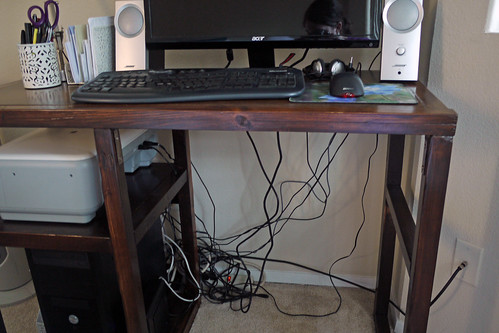
Um, no. The cords were majorly out of control. After a trip to the Container Store for these two products, things looked a whole lot better.
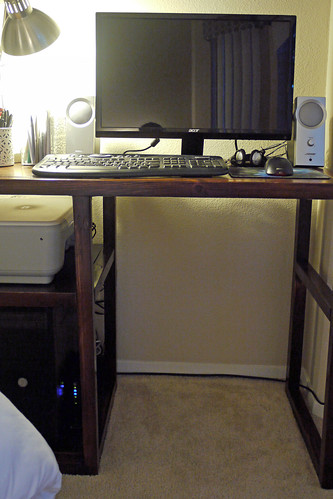
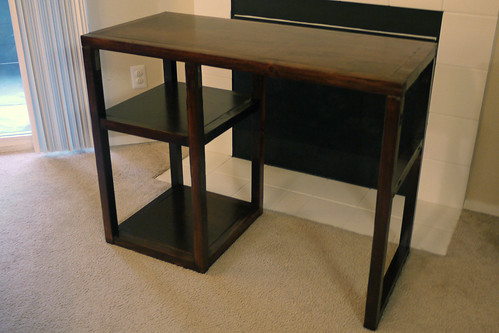
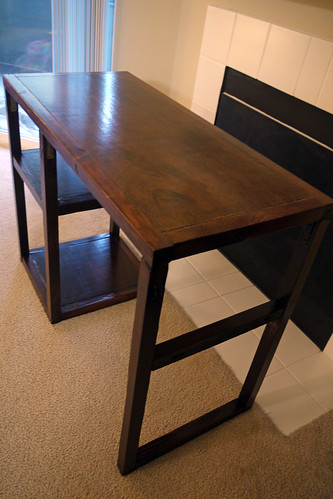
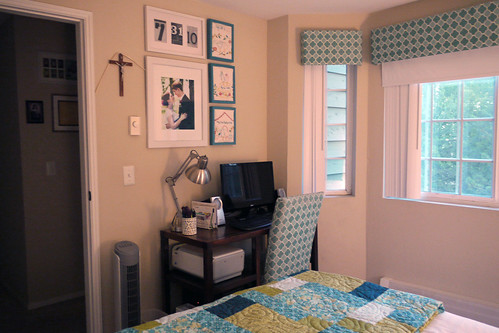
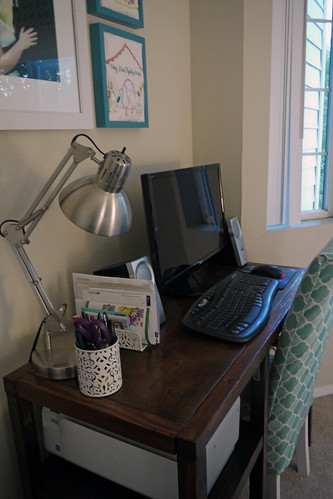
We ordered a longer cable for the modem, so it can be discreetly hidden as well, but it has yet to arrive. A few more gratitutous shots of our handiwork:

It's so amazing to have a desk built to completely fit our needs! Like, to save space, we were able to arrange the printer so that things print out from the side of the desk instead of the front. Our old desk was technically a "computer cart" which meant that you couldn't push in the chair. Oh, it is so nice to be able to do that again! Especially since we'll have a pack-n-play on that side of the room {behind the desk and next to my side of the bed} for about six months after Maggie arrives in October.

Speaking of finishing up long overdue projects, I am officially done with Claire's Christmas present. As youmight probably don't recall, I still had six magnetic letters to go as of Christmas day. Six months later, I can finally say goodbye!
P.S. Just in case you're curious, the grand total for the desk project was about $200. We spent half that on a Kreg Jig, which was extremely helpful in drilling pocket holes. You need pocket holes for just about every piece of furniture, and since we definitely plan to build more furniture in the future {although probably not until we have a garage to work in} it was a worthwhile investment. The other half of the cost went towards wood, screws, stain, the ventailated mask and other sundry supplies. Totally worth it to get a desk that works perfectly for our needs and our small space!
Um, no. The cords were majorly out of control. After a trip to the Container Store for these two products, things looked a whole lot better.
We ordered a longer cable for the modem, so it can be discreetly hidden as well, but it has yet to arrive. A few more gratitutous shots of our handiwork:
It's so amazing to have a desk built to completely fit our needs! Like, to save space, we were able to arrange the printer so that things print out from the side of the desk instead of the front. Our old desk was technically a "computer cart" which meant that you couldn't push in the chair. Oh, it is so nice to be able to do that again! Especially since we'll have a pack-n-play on that side of the room {behind the desk and next to my side of the bed} for about six months after Maggie arrives in October.
Speaking of finishing up long overdue projects, I am officially done with Claire's Christmas present. As you
P.S. Just in case you're curious, the grand total for the desk project was about $200. We spent half that on a Kreg Jig, which was extremely helpful in drilling pocket holes. You need pocket holes for just about every piece of furniture, and since we definitely plan to build more furniture in the future {although probably not until we have a garage to work in} it was a worthwhile investment. The other half of the cost went towards wood, screws, stain, the ventailated mask and other sundry supplies. Totally worth it to get a desk that works perfectly for our needs and our small space!
wow! I am super impressed at your guys' handiwork. and the room looks excellent. way to be!
ReplyDeleteWow, great job! I love being able to make things completely custom to your needs. I recently painted and polyurethaned our kitchen table, but didn't realize that it needed a LONG time to dry. We started eating off it the next day, and the polyurethane was still a bit tacky, and just soaked up all the stains that touched it. It looks pretty terrible now, but we're both feeling a little burned out from the other projects we've been doing.
ReplyDeleteOhh it looks so good! Y'all are amazing (especially since you don't have a garage to work with!). My craft room desk looks a lot like your "before" photo of all the cords, so now I'm all inspired to tackle them and make it look nice and neat!
ReplyDelete